As a recent project, I’ve taken to using the Rasperry Pi 3B+ that I had around the house and turned into into a gaming device for retro gaming.
Like most, I started off with RetroPi. It was a very easy install – flashing a micro SD card with the RetroPi image, and booting it up. Loading games on it was super easy using a Windows share, I was off in no time.
Then I read online that RetroPi wasn’t the only game in town. I read reviews that Batocera was a superior platform and that games ran better and faster with it. Well, that actually turned out to be true!
Batocera ran my games better on the same Raspberry Pi 3B+ device and even consoles that did not work in RetroPi worked in Batocera. What a difference!
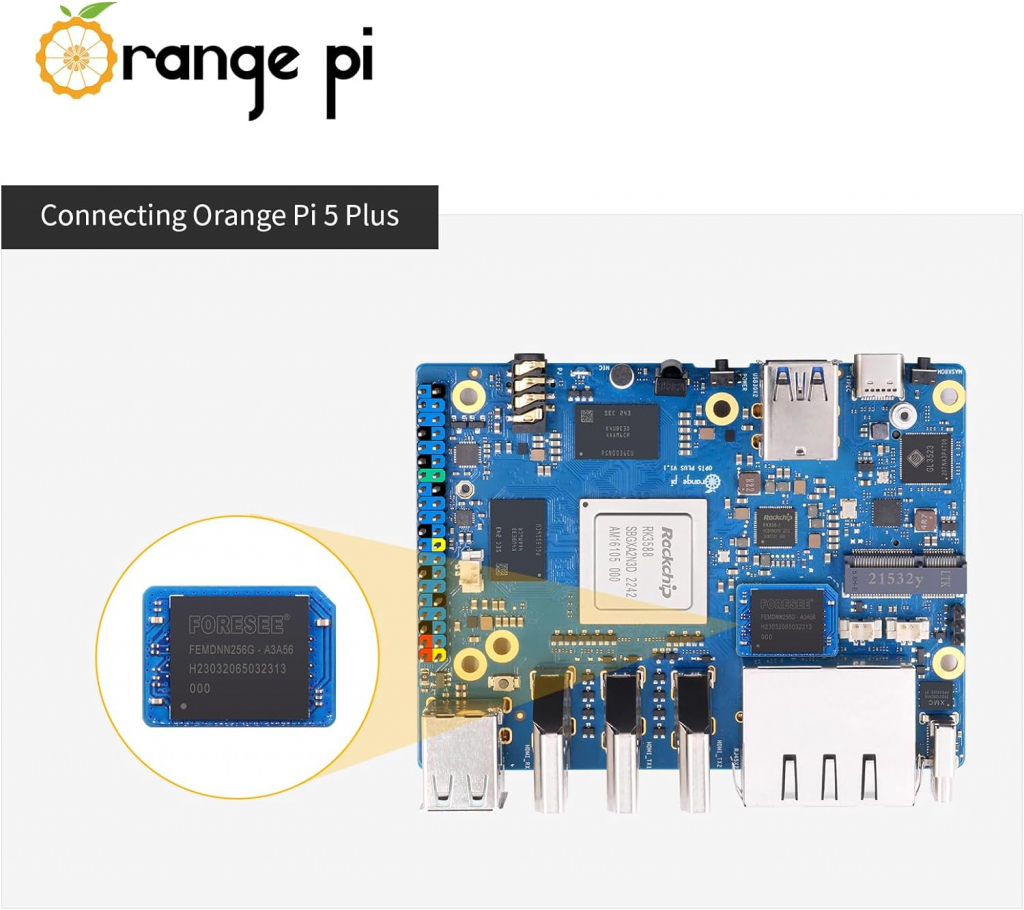
The Orange Pi 5 Plus
Seeing that the Raspberry Pi 5 was soon to be released, I thought it my sworn duty, continuing on in my quest, to buy one at its release and see what power it held. Instead, I stumbled across the Orange Pi 5 Plus and got seriously side-tracked.
The Orange Pi 5 Plus definitely boasted overall better features and it was available right the heck now. So, naturally, I bought one. Since it also supports an EMMC module, I thought I’d grab one of those, too. It seemed like a good idea at the time.
The challenge
Turns out things are not exactly so simple. I had a few challenges to get over (at least at the time of writing this).
- The Orangi Pi 5 Plus does not have a lot of info on it online. It required a bit of digging to find out more about it.
- With all the modules and the case, it came to just under $200 for me.
- There was not a single fantastic guide of flashing an EMMC module.
- Batocera did not list a supported build officially on their downloads site.
Of course, since this is a project, and a personal quest, none of this stopped me.
I shed some tears as I placed my order on Amazon and impatiently waited for its arrival.
Installing Batocera on that little EMMC SSD module thingy
As I said, I had not found any excellent guides on this. That is why I am writing this guide right here. There probably are good guides, but my web search skills are weak. So, here is mine!
First we need to get a Batocera image (how to get a Batocera image for your Orange Pi 5 plus)
Our first challenge to overcome is getting a Batocera image AT ALL that supports the Orange Pi 5 Plus. I was in despair until my weak web search skills turned up this Reddit post. That post revealed that a Batocera image can be downloaded for the OPi5+ at this link right here.
An obvious disclaimer, when you’re reading this Batocera might have an official image in their downloads section by now. Also, I’m not responsible for the image in any links I post. They are clearly not mine. I just used them.
Download the Batocera image and tuck it away somewhere save. You can and should keep it gzipped up.
Next we need to get Ubuntu for the Orange Pi 5 Plus
Long story short, go over to their official page for OPi5+ and download the Ubuntu server image. You may be sad because you’ll be doing terminal stuff a little later, but once it works you’re done and you’ll never have to do it again (probably).
You can use the latest version of Ubuntu or whatever Ubuntu image version you feel comfortable with that’s listed.
From here, extract the image of the server OPi5+ Ubuntu (was in a 7z archive for me). Then flash your SD card with the Ubuntu image you extracted.
I used Linux (because I like to brag about it, obvs) to flash my SD card. MacOS users can do this as well on the terminal.
# dd if=Your_opi5plus_ubuntu_image.img of=/dev/mmcblk0 status=progressKindly replace your image file for OPi5+ and the correct device for your SD card reader above.
If you’re using Windows, I see a lot of people using Etcher.
Now, if you’re a ninja master, before you even write the image to your SD card, you can resize it and then copy into it the Batocera image file. I am not a master like that. So I opted to do it afterwards.
Flashing Batocera onto the EMMC card VIA the Orange Pi 5 Plus device itself
Now the fun part!
Boot your OPi5+ with Ubuntu using the SD card we created. When you boot up it will automatically log in as the user “orangepi”.
The first thing we’ll need to do is set the root password so we can easily work as root. We don’t care about security since the SD card is only going to be an intermediary. Run the following command.
# sudo passwdAnd set the password to “test” or something easy.
Also, run fdisk to see what the destination will be.
# sudo fdisk -lFind the EMMC card in the actual list. Look for a drive with around the size of the EMMC card. I have a 256G EMMC card but it only showed up as 233G. The device was /dev/mmcblk1 for the EMMC. Note yours down.

Flashing the actual EMMC
Now, you have two options. If you have a Linux or MacOS machine, you can just write the image directly through SSH. Or if you prefer, or you have a Windows machine, you can upload the image file first to the OPi5+ Ubuntu install and THEN flash it.
Either way, you’ll need your OPi5+ to have an internet connection and to know its IP so you can get into it from another computer in your network. It tells you its IP address when you first boot it up.
If you’re using WiFi, you’ll have to get that connected, first. I just plugged mine into my router because the SD card would never been seen again after it served its purpose.
Copying and flashing at the same with with Linux or MacOS
Open up your terminal on your Linux or MacOS machine. Here is where you can pipe to SSH to achieve some pretty cool magic.
Run the following command
# cat Your_batocera_image.img.gz | ssh root@opi5p-ip "gunzip -c - | dd of=/dev/mmcblk1 mode=progress"Make sure to properly put in
- Your correct Batocera image name.
- The correct IP of your OPi5+.
- The correct device for the EMMC module. Mine was /dev/mmcblk1. That doesn’t means your will be.
The above command will pipe the image over SSH to your OPi5+, unzip it with GZIP, and then pipe that directly to be written to the EMMC module.
Once the above command runs successfully, your device has been flashed and you’re done. You can run “sudo poweroff” on your OPi5+ and remove the SD. When you boot again, Batocera will boot.
Transferring over the Batocera image and then flashing (Windows)
Get a tool like WinSCP that will copy the Batocera image over to your OPi5+ using SFTP. Then connect as the root user and copy the file over. Go back to your OPi5+ Ubuntu terminal.
Run the following to become root and flash the EMMC.
# sudo su -
# gunzip -c Your_batocera_image.img.gz | dd of=/dev/mmcblk1 status=progress
Once the command finishes, your Batocera image will be flashed onto the EMMC. You can run “poweroff” to shut down the OPi5+ Ubuntu. Remove the SD card and reboot your OPi5+. Batocera will now boot off of the EMMC module.
In Conclusion
After playing it, yes, indeed, the Orange Pi 5 Plus is a beast of a system. It does handle games quite well and even some systems that I couldn’t use before (like PSP and GameCube – although GameCube is a bit buggier right now).
If it was worth the price versus a Raspberry Pi 5 for emulation, time will tell. However, man is this little computer power packed.
I hope you found this article helpful!